What Is WordPress?
WordPress is one of the most popular and powerful content management systems (CMS) in the world. It powers over 40% of all websites on the internet, from personal blogs to e-commerce sites to news portals. WordPress is also free, open-source, and easy to use, making it a great choice for anyone who wants to create a website.
But before you can start building your website with WordPress, you need to install it on your web server. This may sound intimidating, but don’t worry, it’s not as hard as it seems. In fact, there are several ways to install WordPress, depending on your level of technical skills and preferences.
In this blog post, we will show you how to install WordPress using two of the most common methods: the automatic method and the manual method. We will also briefly mention some other methods that you can explore if you want to install WordPress in a different way.
Let’s get started!
 The Automatic Method: Using a Hosting Provider’s Installer
The easiest and fastest way to install WordPress is to use a hosting provider’s installer. A hosting provider is a company that provides you with space and resources on a web server to host your website. There are many hosting providers that offer WordPress hosting, which means they have optimized their servers for WordPress and offer tools to make installing and managing WordPress easier.
One of these tools is a one-click installer, which is a software that automates the process of installing WordPress for you. All you must do is click a button and follow some simple instructions, and you will have WordPress installed on your web server in minutes.
Here are the steps to install WordPress using a hosting provider’s installer:
1. Choose a hosting provider and sign up for an account. There are many factors to consider when choosing a hosting provider, such as price, performance, security, support, features, etc. You can check out our guide on how to choose the best WordPress hosting for more tips.
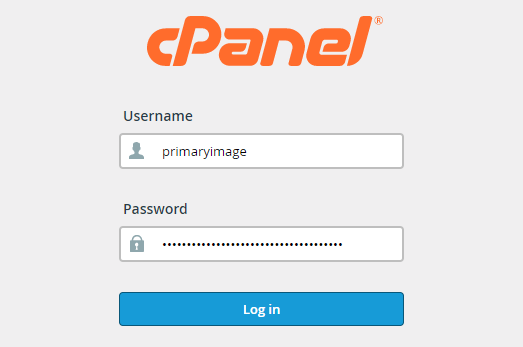
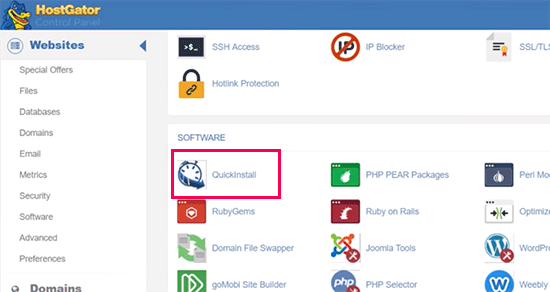 2. Log in to your hosting account and navigate to the control panel. The control panel is where you can manage your web server settings and features. Depending on your hosting provider, the control panel may have different names and interfaces, such as cPanel, Plesk, DirectAdmin, etc.
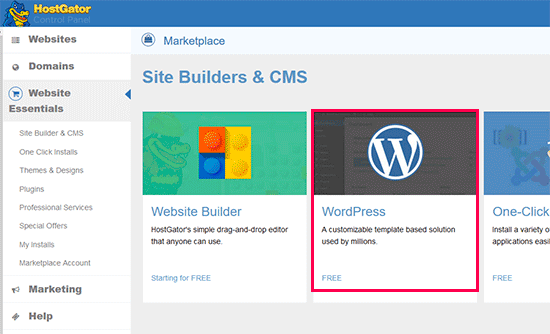
 3. Look for the “WordPress” icon and click on it. This will launch the one-click installer for WordPress. You may find the icon under different sections, such as “Softaculous”, “Fantastico”, “Installatron”, etc.
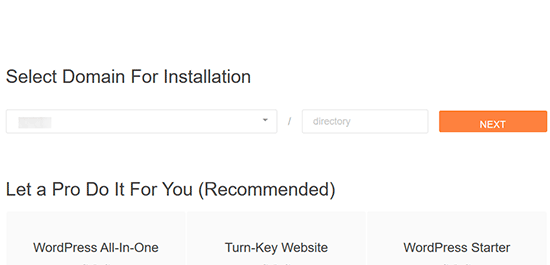
 4. Follow the prompts to install WordPress. The installer will ask you some basic information about your website, such as the domain name, the directory where you want to install WordPress, the site title, the admin username and password, etc. Fill in the required fields and click “Install” or “Finish”.
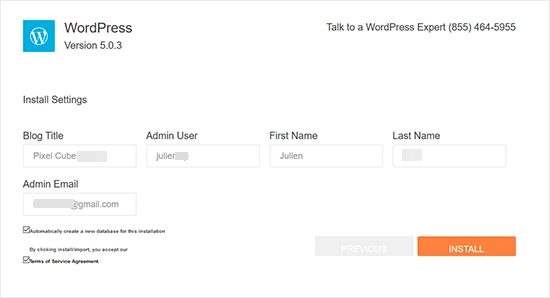 5. Once the installation is complete, log in to your WordPress dashboard and start customizing your site. The WordPress dashboard is where you can manage all aspects of your website, such as creating pages and posts, installing themes and plugins, changing settings, etc. You can access the dashboard by visiting your site’s URL followed by /wp-admin (e.g., https://example.com/wp-admin).
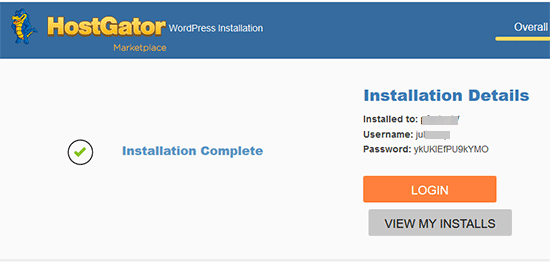 Congratulations! You have successfully installed WordPress using a hosting provider’s installer.
The Manual Method: Uploading WordPress Files and Creating a Database
If you want more control over how you install WordPress or if your hosting provider does not offer a one-click installer, you can install WordPress manually. This method requires more technical skills and steps, but it’s not too difficult if you follow them carefully.
Here are the steps to install WordPress manually:
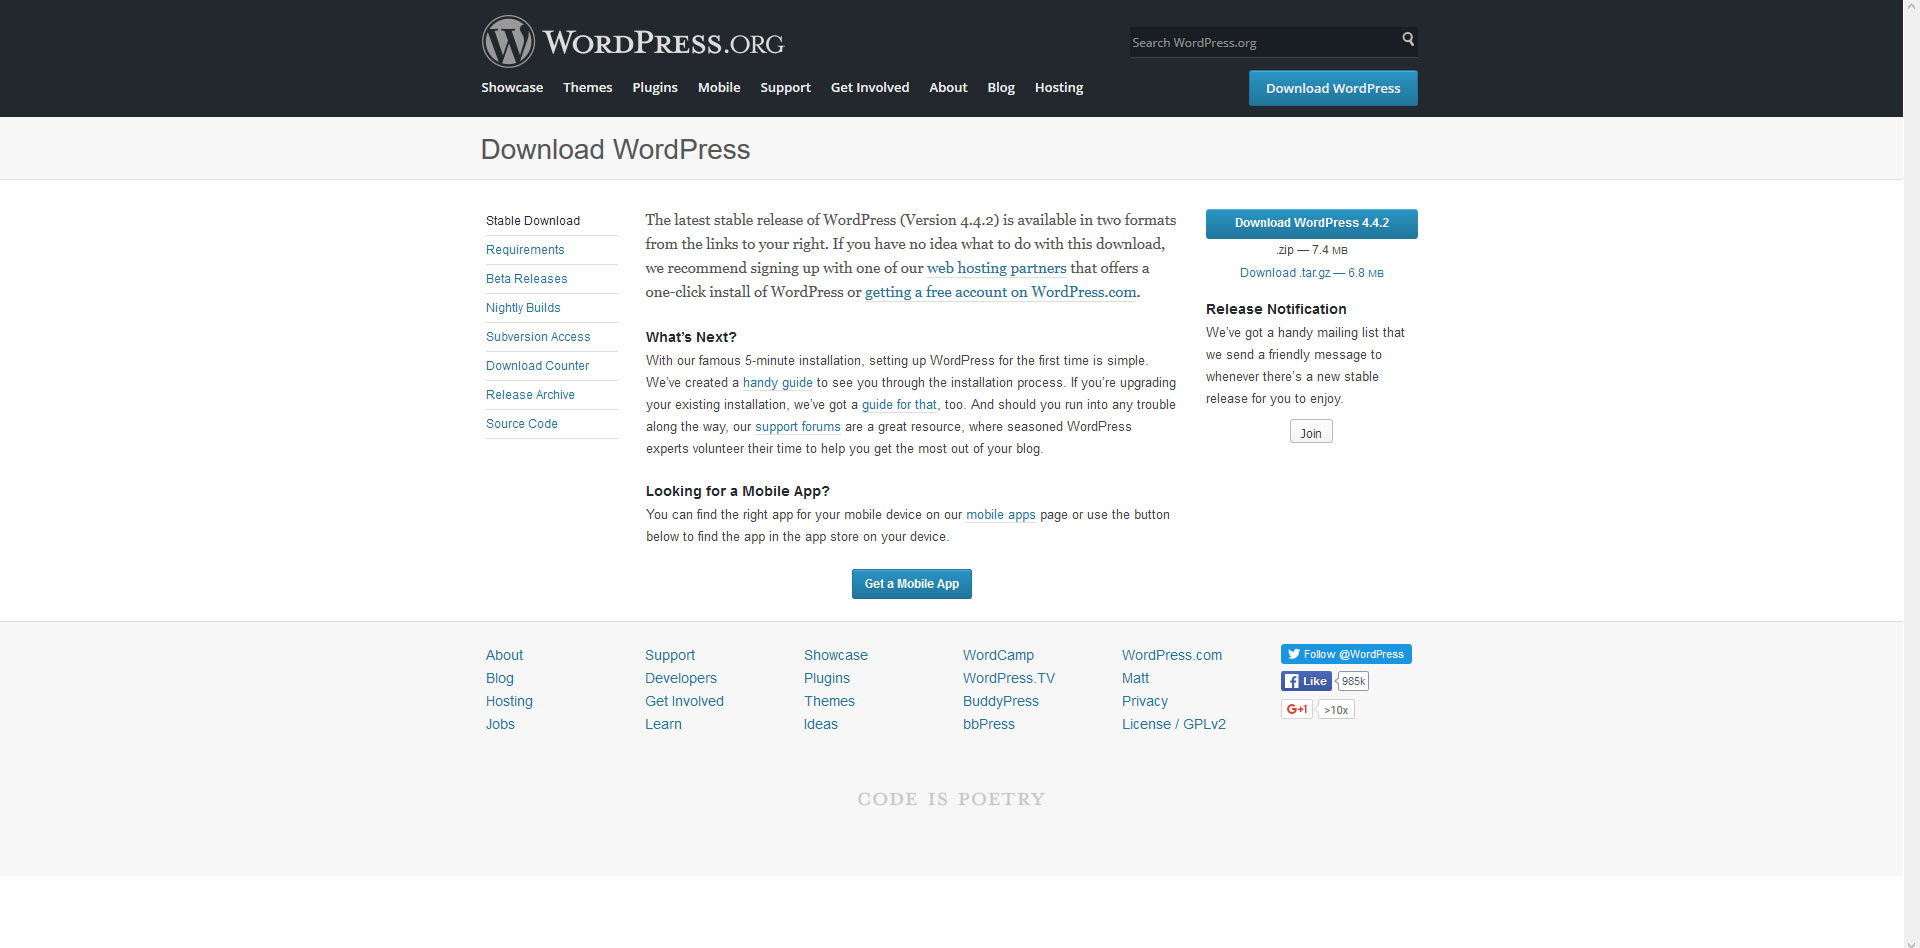
1. Download the latest version of WordPress from the official website. You will get a zip file containing all the files and folders that make up WordPress.
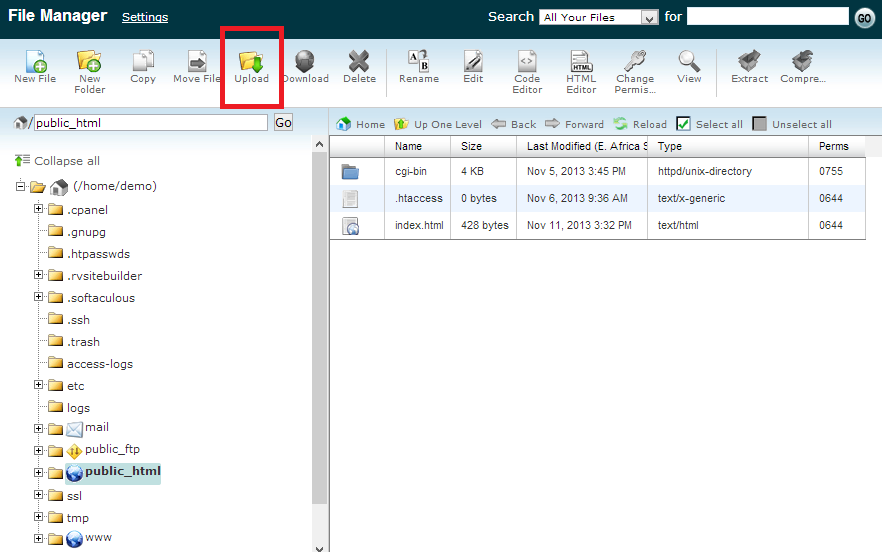
 2. Upload the WordPress files to your web server using an FTP client. An FTP client is a software that allows you to transfer files between your computer and your web server. You will need an FTP username and password from your hosting provider to access your web server via FTP. You can use any FTP client you like, such as FileZilla, Cyberduck, WinSCP, etc.
 3. Create a MySQL database and user for your WordPress site. A MySQL database is where WordPress stores all its data, such as posts, pages, comments, settings, etc. You will need to create a database and assign a user with full privileges to access it. You can do this using your hosting provider’s control panel or using a tool like phpMyAdmin.

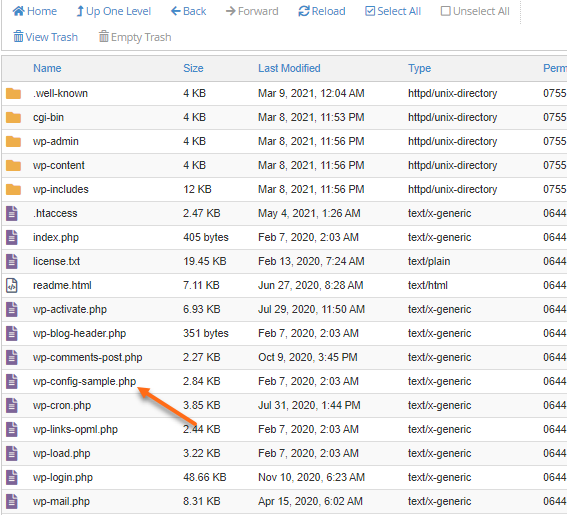
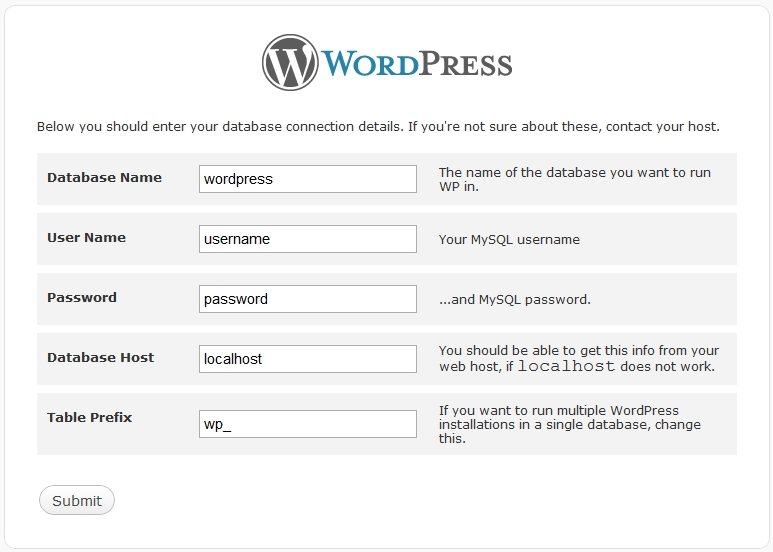 4. Configure the wp-config.php file with your database information. The wp-config.php file is one of the most important files in WordPress. It contains the configuration settings for your website, such as the database name, username, password, host, etc. You will need to edit this file with your own database information before you can run the WordPress installation script.
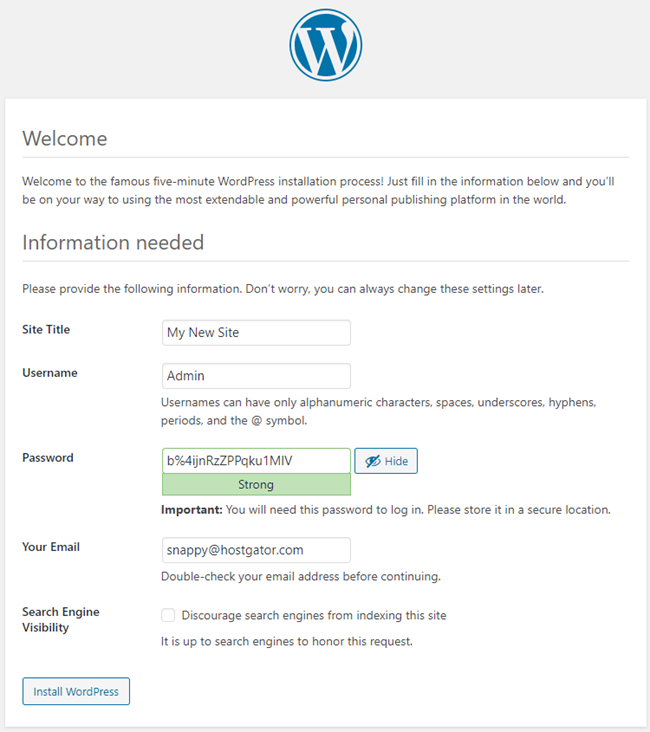
 5. Run the WordPress installation script by visiting your site’s URL in a web browser. This will launch the WordPress installation wizard, which will guide you through the final steps of installing WordPress. You will need to enter some information about your website, such as the site title, the admin username and password, the email address, etc. Click “Install WordPress” or “Finish” to complete the installation.
 6. Once the installation is complete, log in to your WordPress dashboard and start customizing your site.
Congratulations! You have successfully installed WordPress manually.
Other Methods to Install WordPress
The automatic and manual methods are not the only ways to install WordPress. There are also other methods that you can try if you have different needs or preferences. For example, you can:
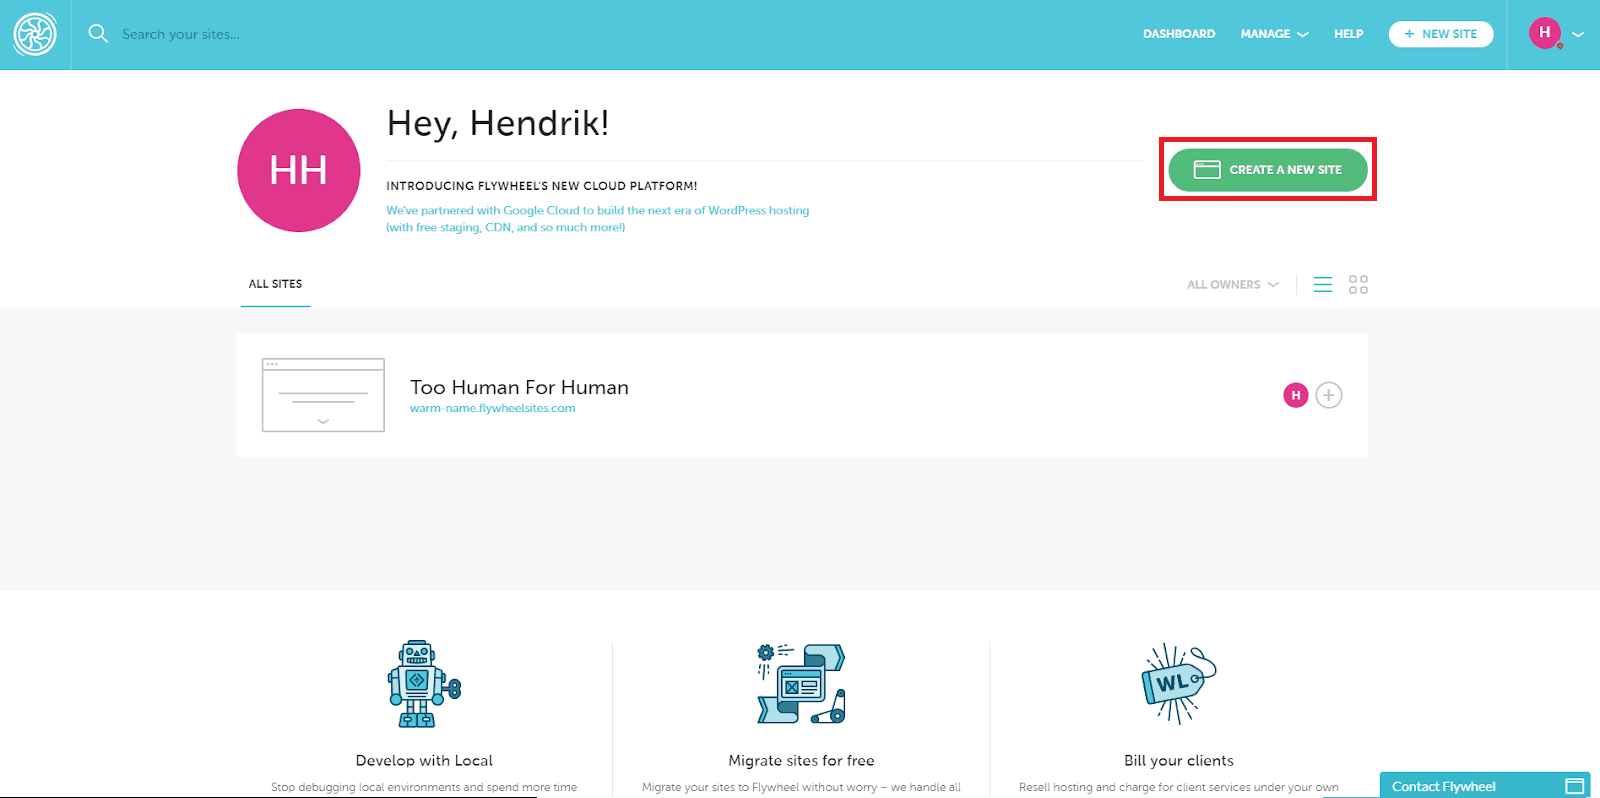
- Install WordPress locally on your computer for testing purposes. This allows you to create and experiment with WordPress websites without affecting your live site or paying for hosting. You will need to use a software like XAMPP, WAMP, MAMP, or Local by Flywheel to create a local web server on your computer and install WordPress on it.
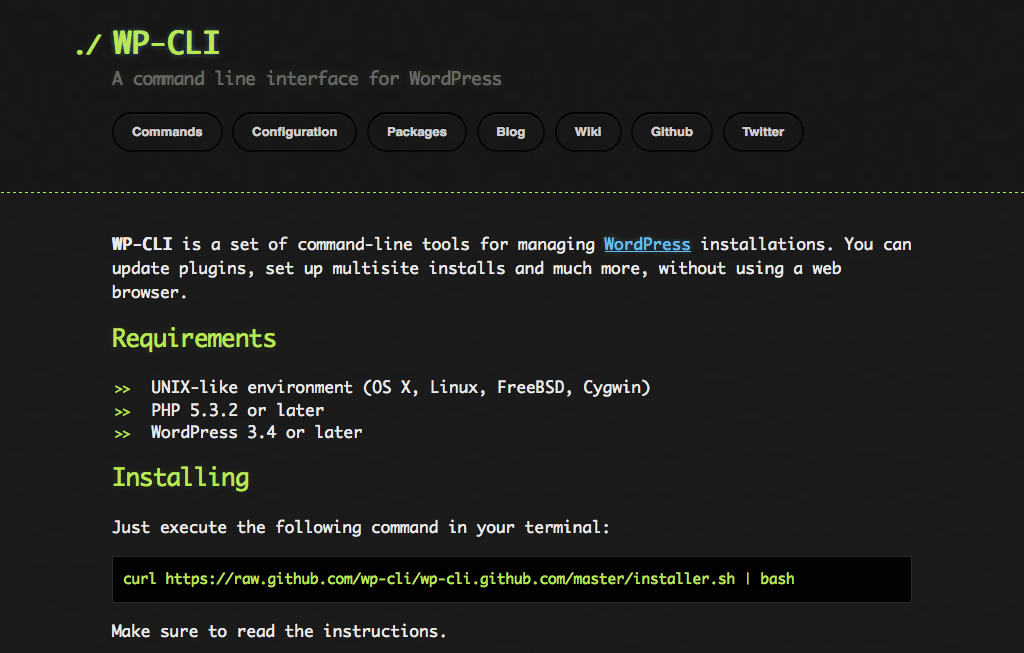
 Install WordPress using a command-line interface (CLI). This is a method for advanced users who are comfortable with using commands and scripts to install WordPress. You will need to use a tool like WP-CLI, which is a set of commands that allow you to manage WordPress from the command line.
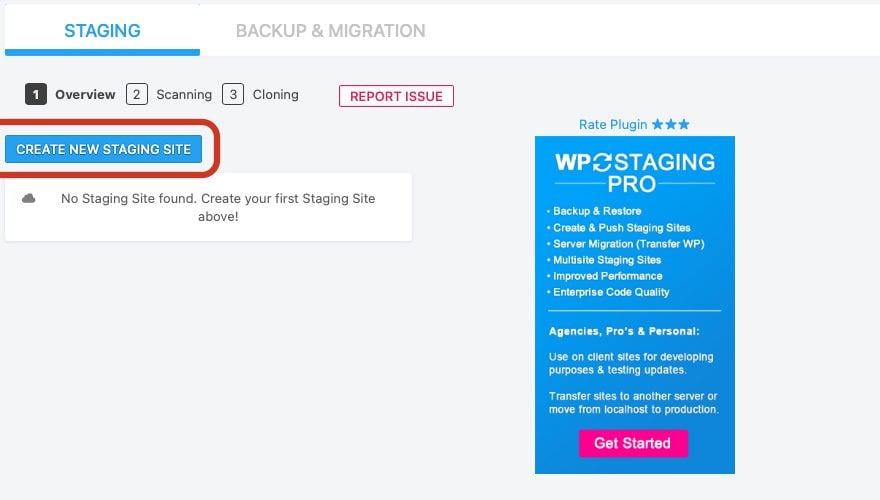
 Install WordPress using a staging site. A staging site is a copy of your live site that you can use to test changes and updates before applying them to your live site. This helps you avoid breaking your live site or losing data. You can create a staging site using a plugin like WP Staging or Duplicator, or using a feature provided by your hosting provider.
 Conclusion
Installing WordPress is the first step to creating your own website with this amazing CMS. As you can see, there are several ways to install WordPress, depending on your skills and preferences. You can choose the method that suits you best and follow the steps we have outlined in this blog post.
We hope this guide has helped you learn how to install WordPress and get started with your WordPress development journey. If you have any questions or comments, feel free to leave them below. We would love to hear from you!
.png)
Recent Comments